DSL-500/DSL-504 Installation guide for NO-NAT.
Firmware v221B2T18UK
The following set-up procedure shows how to configure the DSL-500/504 for a NO NAT set-up. This only applies if you have a range of usable IP addresses from your ISP. Please note that this document requires that the latest firmware is running on the ADSL router. This is v2.21…t18uk.
1)
Please ensure
that the RJ-11 cable is not connected to the ADSL enabled line.
2)
Go into the
routers configuration using the default IP address of 192.168.0.1 and login
using the default username and password and do a Factory Reset. Once done, login again. 
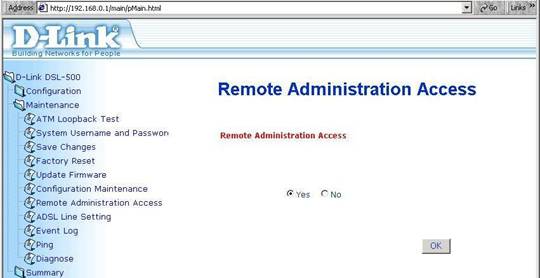
3)
Go into
Maintenance--> Remote Administration Access and set it to Yes. Click OK.
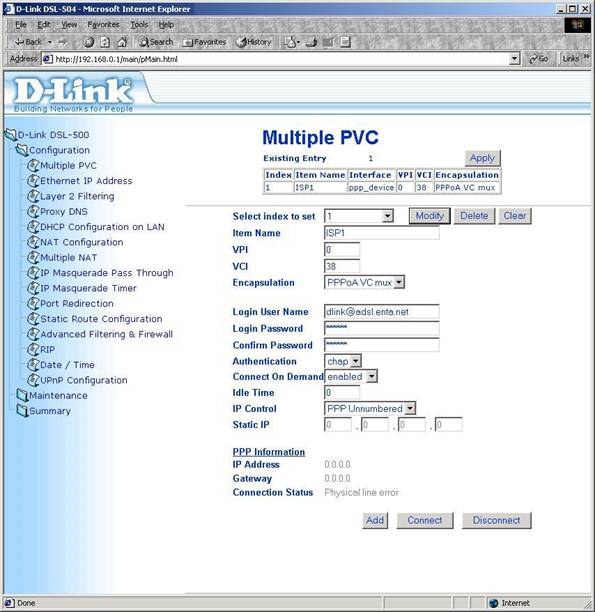
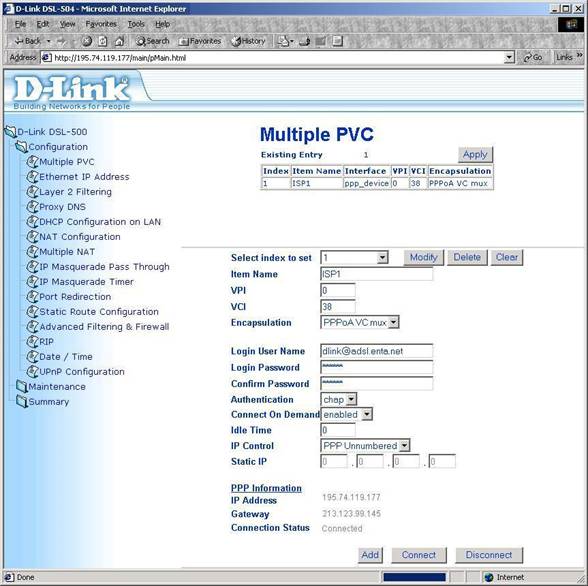
4)
Go into the
Configuration--> Multiple PVC Configuration and enter the ISP username and
password. Under IP control, set this to
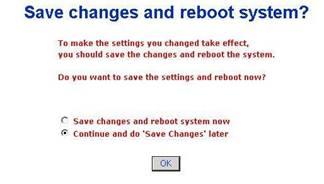
PPP UNNUMBERED. Click ‘modify’, then
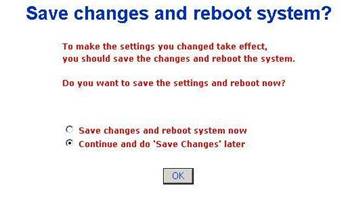
click ‘Apply’ and select 'Continue and do Save changes
later'. Click OK.
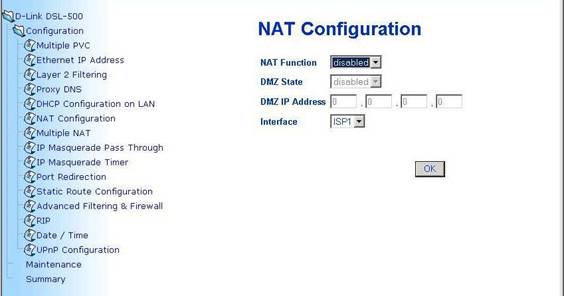
5)
Go in NAT
Configuration and Disable NAT. Click OK
and select 'Continue and do Save changes later'. Click OK.
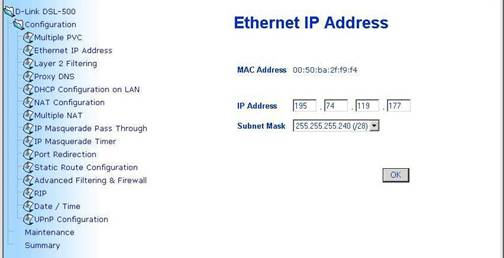
6)
Go into the
Ethernet IP address and set the IP address of the router to the one designated
for the router out of your public IP range.
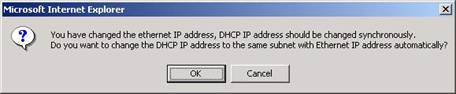
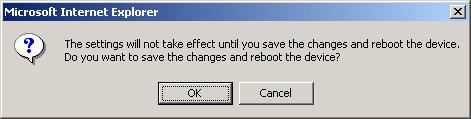
Set the subnet mask to the appropriate one. Note: These details will have been
provided by your ISP. When asked to
set then adjust the DHCP range, click YES and then Click OK to reboot when
prompted.
7)
Go into the
configuration of the DSL-504 using the newly assigned IP address.
8)
Connect the
RJ-11 cable to the ADSL-enabled line through the microfilter.